

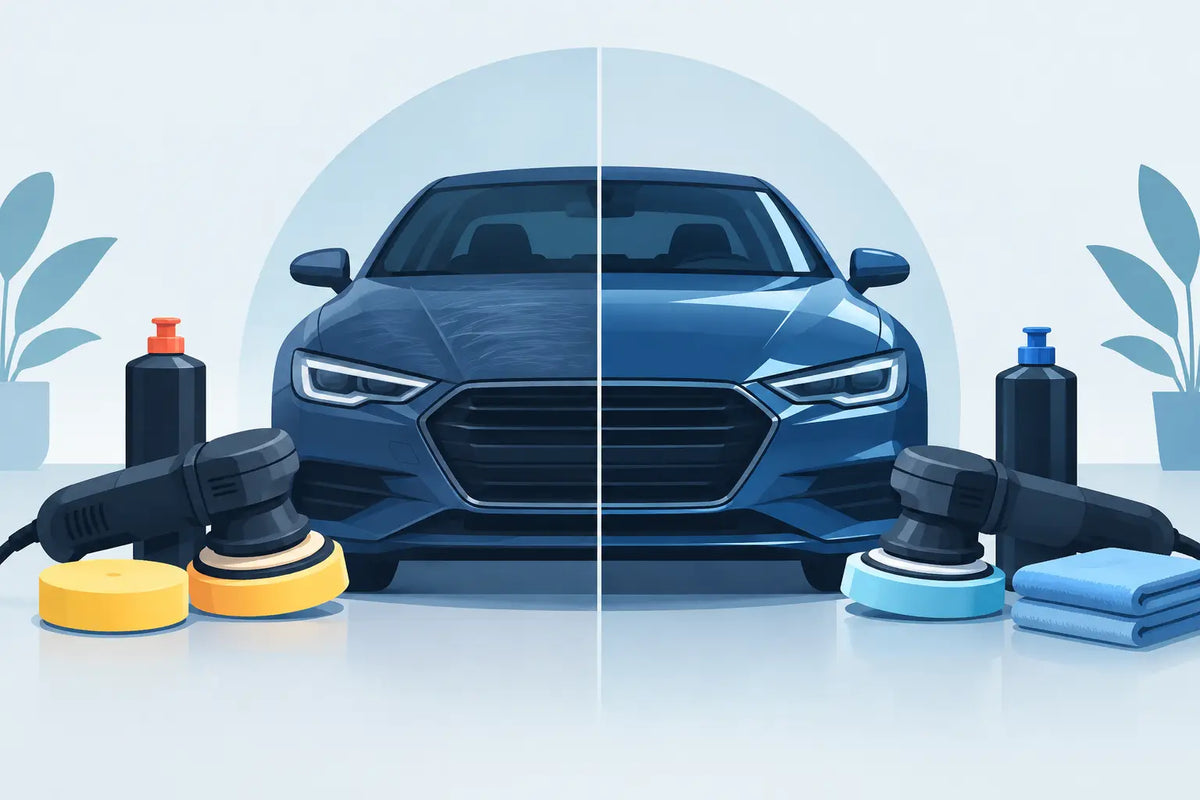
A bonnet can look dull for two very different reasons. It may be covered in wash marring that only needs refining, or it may carry deeper scratches, oxidation and heavy defects that require genuine correction. That is where the polish versus compound decision matters. Choose too little cut and you waste time. Choose too much and you remove clear coat without earning a better finish.
This is not a case of one product being better than the other. Compound and polish have separate jobs within paint correction. The correct choice depends on defect depth, paint hardness, pad selection, machine movement and the standard of finish required. ZERO HYPE. PURE CHEMISTRY.
Polish Versus Compound: The Real Difference
A compound is designed to cut. It uses abrasives to level defects more aggressively, reducing the visible edges of scratches, oxidation, sanding marks, ingrained marring and severe swirl marks. It is the correction stage when the paint needs meaningful material removed to restore clarity.
A polish is designed to refine. It uses finer abrasives, usually with less cutting power, to improve gloss and remove the lighter haze or micro-marring that can remain after compounding. On paint with only light defects, a finishing polish may be all that is required.
The terms are not perfectly fixed. One brand's heavy polish can cut more strongly than another brand's light compound. Modern abrasive technology has also blurred the line, with some all-in-one products capable of significant correction and a respectable finish. Product labels are useful, but the result on the paint is what counts.
Think in terms of cut and finish, not marketing categories. A high-cut compound paired with a firm pad gives fast defect removal but may leave haze, particularly on softer paint. A fine polish on a soft finishing pad delivers high gloss but will not erase a scratch that catches a fingernail.
When Compound Is the Right Starting Point
Compound is warranted when defects are substantial enough that a polish will make little visible difference. Typical examples include neglected paint with heavy circular wash marks, hard water etching, oxidation, deep towel marring or sanding marks following localised paintwork.
It is also useful on harder clear coats where a medium polish lacks the bite to correct efficiently. Many modern German vehicles, for example, can require a compound and appropriate cutting pad before the defects begin to move. But vehicle origin is not a guarantee. Paint systems vary by manufacturer, panel, age and previous repair work.
A compound should not be treated as a default first step. Every correction pass removes a small amount of clear coat. That is the point of correction, but it must be controlled. Repeated heavy compounding on a car that has already seen years of machine polishing can leave little margin for future work.
Before reaching for heavy cut, inspect the paint under proper lighting. Direct sunlight can reveal some defects, but an inspection light will show the true level of swirls, haze and random deep scratches. Clean, decontaminate and dry the panel first. Embedded fallout, tar and bonded contamination can interfere with pad movement and make the paint appear worse than it is.
Where possible, use a paint depth gauge. It will not tell you the exact thickness of clear coat, but it provides valuable context. Readings that vary sharply across a panel may indicate previous paintwork. Be particularly cautious around panel edges, body lines, handles and repainted areas.
When a Polish Is Enough
A polish is the disciplined choice for well-maintained paint with light swirls, wash-induced marring, faint holograms or a loss of gloss. It is also the sensible starting point when paint history is unknown and the defects appear shallow.
For an enthusiast maintaining a ceramic-coated daily driver, a fine polish may be all that is needed before reapplying protection. For a professional preparing a client vehicle for a high-gloss enhancement detail, a single refining step can offer an excellent balance between finish, time and paint preservation.
The advantage is not simply lower risk. Polishing can be faster when the paint does not need compounding. It also creates less dust, generates less heat and reduces the chance of chasing defects that should be left alone. A deep scratch does not need to disappear completely to make the vehicle look dramatically better. Often, reducing its visibility safely is the better result.
Single-stage correction is a practical middle ground. A medium-cut polish with the right pad can remove moderate defects and finish cleanly on many paint types. This approach is especially effective where the goal is a major visual improvement rather than concours-level correction. The trade-off is simple: it may leave deeper defects behind, but it preserves more paint and keeps labour under control.
The Pad Changes the Outcome
Compound and polish cannot be judged in isolation. The pad is part of the correction system.
A cutting compound on a microfibre or firm foam cutting pad can deliver rapid correction. The same compound on a softer foam pad may become more controllable and finish better, but remove fewer defects. Likewise, a finishing polish on a cutting pad can produce more correction than expected, though it may compromise the clarity you chose the polish for.
Machine choice matters too. A dual-action machine is forgiving and well suited to most correction work, particularly for enthusiasts and routine professional preparation. A rotary can correct quickly and effectively but builds heat faster and demands greater control. Neither machine is automatically superior. The panel, paint and operator determine the right tool.
Start with the least aggressive combination likely to work. This does not mean choosing an ultra-fine polish blindly. It means making a reasoned first choice, then testing it on a small area. A test spot is not a ceremonial step. It tells you whether the compound, polish, pad, machine speed and working time are producing the correction and finish you need.
Build Your Correction Process Around a Test Spot
A controlled test spot removes guesswork from paint correction. Tape off a section around 40 cm by 40 cm on a representative panel, avoiding sharp edges and awkward contours. Use a clean pad, apply a modest amount of product and work the area with consistent, overlapping passes.
Wipe away residue with a clean microfibre and inspect under the same lighting used to identify the defects. If a polish has removed most of the marring and left a clear finish, there is no reason to escalate. If it has barely changed the defects, step up either the pad, the compound or both.
Do not change everything at once. If you switch product, pad, speed, pressure and number of passes together, you learn nothing about what improved the result. Methodical adjustment is faster over a full vehicle because it prevents repeated, unnecessary passes.
Once the correction level is right, check the finish after a panel wipe. Polishing oils can fill fine marks temporarily and make the surface look better than it really is. A proper inspection after residue removal confirms whether you have corrected the defect or merely masked it.
Common Mistakes That Cost Paint and Time
The biggest mistake is chasing every visible mark. A scratch that reaches through the clear coat cannot be safely polished away. If it catches a fingernail, treat it with caution. Reducing its appearance may be possible; making it vanish may require touch-up, wet sanding or repainting.
Another common error is overworking product. Most modern compounds and polishes need a controlled working cycle, not endless passes until the panel feels hot. Excessive heat, saturated pads and dried residue reduce performance. Clean pads regularly and change them when they become loaded with spent polish and paint residue.
Skipping the refinement stage is equally costly on soft or sensitive paint. A compound may deliver strong correction but leave haze that is only obvious outside or under an inspection lamp. If maximum clarity is the target, follow with a fine polish and finishing pad.
Finally, do not apply a wax, sealant or ceramic coating over polishing residue and assume the job is complete. The paint must be properly prepared so protection bonds as intended. Correction creates the finish. Preparation preserves it.
Correction Is Not the Same as Maintenance
Compounding should be occasional, not part of every wash routine. Once the paint has been corrected, keep it that way with safe pre-wash, effective lubrication, clean wash media and careful drying. Most swirl marks are installed during maintenance, not while driving.
For professionals, this distinction protects both the vehicle and the margin. For enthusiasts, it protects the result you have worked for. A disciplined wash process reduces the need for future aggressive correction and keeps clear coat where it belongs - on the car.
The best correction plan is rarely the most aggressive one. Start with evidence, prove the combination on a test spot and remove only what the finish demands. Paint is a finite resource. Treat it like one.
Share:
When an Iron Remover Belongs in a Proper Wash
How to Remove Water Spots Safely From Paint