

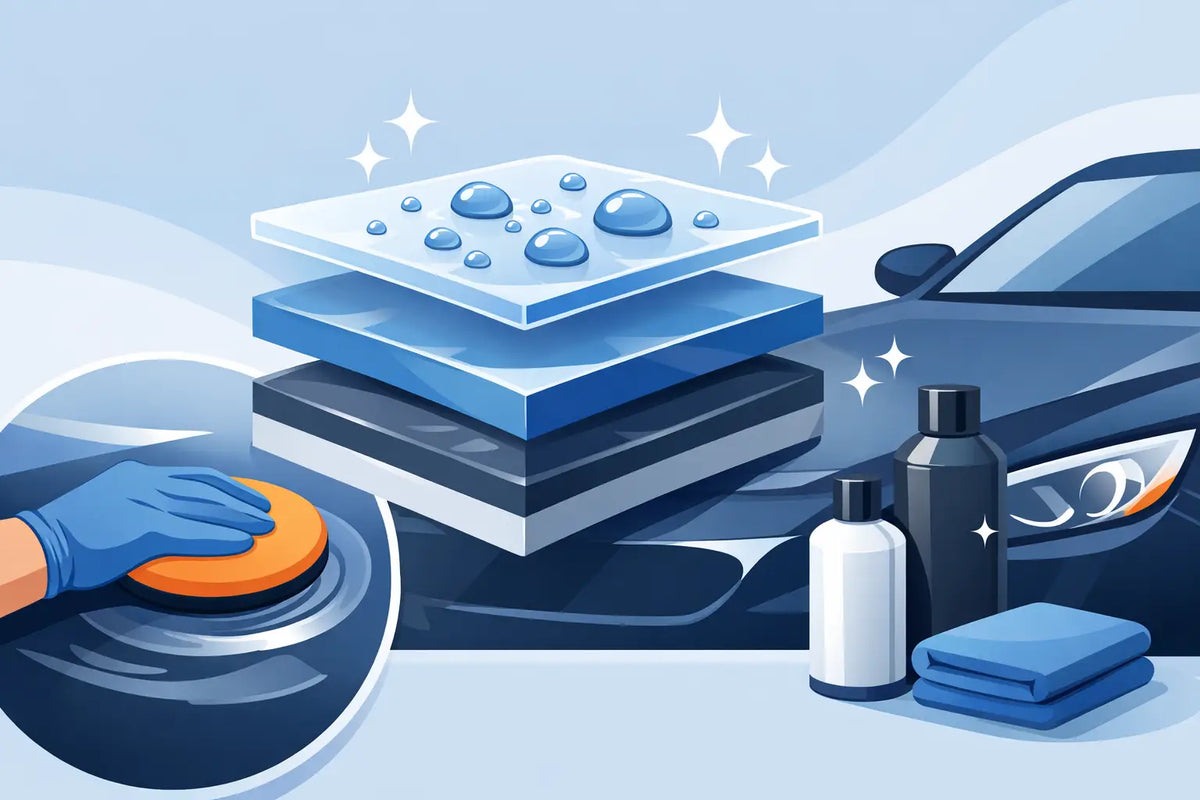
A second coat of sealant can sharpen protection. A fifth coat usually just sharpens your product consumption. Knowing how to layer paint sealant comes down to chemistry, cure time and realistic expectations - not the belief that more coats automatically mean more durability.
Paint sealants are engineered to form a thin, bonded protective film over clean paintwork. Apply them correctly and they improve gloss, water behaviour and resistance to road grime. Layer them without allowing the first application to settle, and you risk smearing, patchiness and reduced bonding. ZERO HYPE. PURE CHEMISTRY.
What layering paint sealant actually does
Layering is not the same as building several thick sheets of protection on the panel. Most synthetic sealants cross-link or cure into a very thin layer. Once that layer has formed, a second application is primarily there to improve coverage in areas where the first pass may have been light, uneven or missed altogether.
That matters on complex panels. Mirrors, bumper contours, door shuts and sharp body lines are easy to under-apply, even when the vehicle looks fully protected under workshop lighting. A carefully applied second coat can make the finish more consistent across the whole car.
It does not normally double durability. Nor does it create unlimited depth or hardness. If a sealant claims six months of protection from one properly prepared application, adding several more coats will not turn it into a multi-year coating. Durability is dictated by the formula, panel preparation, curing conditions, wash routine and the vehicle's real-world exposure.
When a second coat is worth doing
For most quality paint sealants, one precise coat is enough. A second coat is worthwhile when the paint has complicated styling, the first coat was applied quickly, or you want confidence that every panel has received even coverage.
It is also sensible after polishing a dark-coloured vehicle, where every high spot and uneven patch will show under direct light. The aim is not to load the paint with product. The aim is a uniform protective film with clean, predictable water behaviour.
There is a practical trade-off. A second coat takes time, uses more product and extends the period before the car can be exposed to rain or road contamination. For a daily driver needing efficient protection, one properly executed coat is often the smarter result. For a detailed vehicle, client handover or freshly corrected paint, the extra pass may be justified.
Prepare the paint before you layer paint sealant
Sealant cannot bond through traffic film, old wax, silicone-heavy dressings or polishing residue. The finish may initially look glossy, but protection will be inconsistent and durability will suffer. Preparation decides whether the sealant attaches to paint or sits on contamination.
Start with a proper contact wash using a pH-neutral shampoo after removing loose dirt and road film safely. Decontaminate where necessary with fallout and tar removers, then mechanically decontaminate only if the paint needs it. Clay should not be automatic. Use it when bonded contamination remains, because unnecessary claying can leave marring that needs polishing out.
If the vehicle has been polished, remove polishing oils with the panel-preparation method specified for your sealant system. This is not a step to improvise. Some products are designed for bare, panel-wiped paint; others contain bonding agents and work best within their own preparation process. Read the product instructions rather than assuming every solvent-based panel wipe is suitable.
The panel must be cool, dry and free from dust. In British conditions, that includes being honest about humidity, morning dew and a cold garage floor. A panel that feels dry can still be carrying moisture around badges, trim edges and panel gaps. Give the vehicle time to settle before you start.
Apply the first coat with control
Use a clean, soft applicator and apply the sealant thinly. Thin does not mean rushed or incomplete. It means enough product to create an even film without saturating the applicator or leaving heavy, greasy trails.
Work one manageable section at a time: half a bonnet, one door, a quarter panel. Spread the product evenly in overlapping passes, then follow the stated flash or haze time. Temperature and humidity change that window. On a cool day it may need longer to settle; in a warm, dry unit it may flash sooner. Product instructions always take priority over a generic timing rule.
Remove residue with a fresh, high-quality microfibre towel using light pressure. Turn the towel often. If it begins to drag, load up or leave a hazy trail, replace it. Trying to force a saturated towel through the job is a reliable way to reintroduce residue and mistake it for poor curing.
Inspect under more than one light source. Bright workshop LEDs reveal high spots; natural daylight is better for spotting uneven gloss, smears and missed sections. Do not apply the second coat until the first coat looks clean and level.
Let the first layer cure before applying another
This is where most layering attempts fail. Flash time is the period before you buff the residue. Cure time is the period in which the protective film settles, bonds and develops its intended performance. They are not interchangeable.
Some sealants accept a second coat after a short interval, while others need several hours or an overnight cure. The exact window depends on the solvents, polymers and cross-linking chemistry in the formula. Applying another coat too early can disturb the first layer, especially if the fresh product re-wets it.
Keep the vehicle dry, indoors where possible, and away from dust during this stage. Avoid rain, washing and aggressive wiping until the stated initial cure period has passed. A car parked outside beneath a wet tree canopy is not testing durability - it is interrupting chemistry.
Once the recommended interval has elapsed, apply the second coat exactly as you applied the first: thin, even and controlled. There is no benefit in pressing harder, using more product or chasing a wetter appearance.
Do not confuse layering with topping
A topper is a different product placed over the sealant to alter gloss, slickness or water behaviour. Quick detailers, spray sealants and waxes can all act as toppers, but that does not mean they improve the base sealant's bond or extend its advertised life.
A compatible spray protection product can be useful during maintenance. It may refresh beading after washing and make drying easier. But using a topper every week can mask the condition of the original sealant, making it difficult to tell what is actually protecting the paint.
Avoid applying a conventional paint sealant over a ceramic coating unless both products explicitly allow it. Ceramic coatings rely on a chemically cured surface, while many sealants use oils, polymers or carriers that can compromise the coating's water behaviour or make maintenance less predictable. Equally, do not apply a ceramic coating over an existing sealant. The coating needs properly prepared, bare paint to bond.
Wax over sealant is largely a visual preference. It can add warmth on some colours, but it becomes the sacrificial top layer and may soften the crisp water behaviour of the sealant beneath. There is no universal best stack. Choose the system based on the finish you want and the maintenance routine you will actually follow.
Signs you have overdone it
Streaking that returns after buffing, greasy smears, uneven water behaviour and dust sticking to the surface can all indicate excessive product or poor curing between applications. Do not keep adding layers to correct it.
Instead, allow the panel to settle, inspect it after the appropriate cure period and lightly clean any residue using a suitable product. If the finish remains uneven, strip the affected area, re-prep it and start again with one controlled coat. Precision beats product volume every time.
Maintain the protection rather than endlessly adding to it
Once the sealant has cured, maintenance is straightforward. Wash with a gentle shampoo, use clean wash media and dry with minimal contact. Strong alkaline traffic film removers, harsh acids and repeated abrasive polishing will shorten the life of any sealant, regardless of how many coats sit underneath.
Assess performance after washing rather than judging it by dry gloss alone. Healthy protection usually shows quick water sheeting, tight beading where the formula is designed to bead, and easier dirt release. When those traits fade consistently despite correct washing, it is time to decontaminate if needed and reapply the protection.
A well-prepared panel with one or two properly cured coats will outperform a car covered in rushed applications. Put the effort into the bond, respect the cure window and let the chemistry do the work.
Share:
Trade Detailing Supplies Guide for Better Results
Premium Car Care Products That Earn Their Place