

Most wash damage does not happen in correction. It happens on driveways, week after week, when grit gets dragged back across the paint. That is exactly why the two bucket wash method steps still matter. They are not detailing folklore. They are a controlled way to reduce friction, isolate contamination and wash with far less risk.
If you maintain coated cars, soft paint, gloss black trims or dark daily drivers, this method is basic discipline. Not glamour. Not hype. Just a better system.
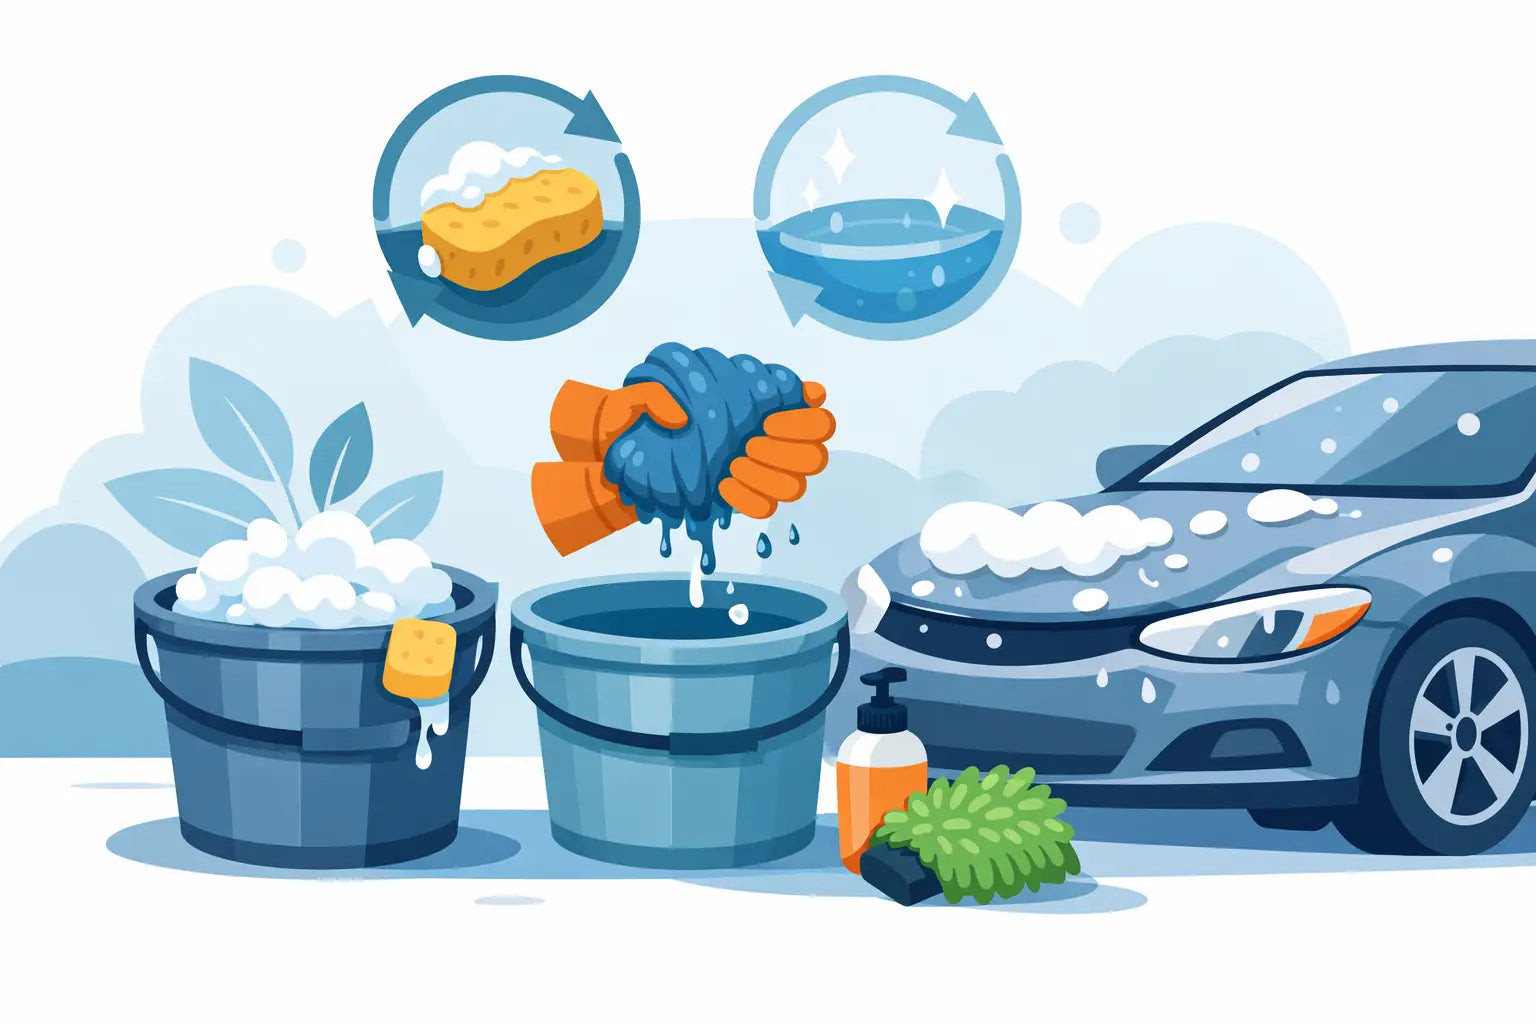
Why the two bucket wash method steps matter
A wash mitt does not know the difference between shampoo and abrasive dirt. Once contamination is in the fibres, every pass across the panel becomes a risk. Swirl marks, light marring and dulled gloss usually come from that repeated contact, not from one dramatic mistake.
The logic behind the two bucket system is simple. One bucket holds your shampoo solution. The second holds clean rinse water. After each section, you rinse the mitt in the rinse bucket first, release the dirt, then go back into the shampoo bucket with a cleaner mitt. That separation is the point.
Is it perfect? No. If the vehicle is heavily soiled and you skip a proper pre-wash, you can still induce defects. If your wash media is poor quality, the buckets alone will not save you. But as part of a proper maintenance wash, it is still one of the most effective habits you can build.
Before the wash: set up properly
The two bucket wash method steps start before the mitt touches the paint. If the car is carrying traffic film, road salt, grit or winter fallout, your first job is to remove as much loose contamination as possible without contact.
Begin with a thorough rinse, then use a suitable pre-wash or snow foam to soften and lift grime. Give it time to work, then rinse again. This stage does more for swirl prevention than people admit. If the surface still feels visibly gritty before contact washing, the wash stage is already compromised.
Your buckets should be clean and ideally fitted with grit guards. Fill one with shampoo and water at the correct dilution. Fill the second with plain rinse water. Use a quality wash mitt rather than a sponge. A decent microfibre or lambswool-style mitt carries shampoo better, releases debris more easily and is less likely to trap hard particles against the paint.
If you want to be more exact, use separate mitts for upper and lower sections. Lower doors, bumpers and rear panels collect heavier contamination. Keeping that grime away from the bonnet, roof and glass is good practice.
Two bucket wash method steps, in the right order
1. Start at the top
Always wash the cleanest areas first. That usually means roof, glass and upper bodywork. Leave the dirtiest sections until last, especially sills, lower doors, front bumper corners and the rear end.
This is not just about habit. Dirt load increases as you move down the vehicle. Starting low and then carrying that contamination upwards defeats the system.
2. Load the mitt with shampoo
Take your clean mitt from the shampoo bucket and allow it to absorb enough solution to provide lubrication. You are not scrubbing. You are gliding the mitt across the surface with minimal pressure.
Work one panel or part-panel at a time using straight passes. Circular motions are not automatically wrong, but straight-line movement makes it easier to control pressure and inspect any wash marking later.
3. Rinse the mitt before reloading
After each section, place the mitt into the rinse bucket first. Agitate it against the grit guard or rub it through the water with your hand to release trapped dirt. This is one of the most important two bucket wash method steps, and it is the one people rush.
If the rinse water is doing its job, you will often see the contamination leave the mitt. That is exactly where you want it - in the rinse bucket, not back in your shampoo.
4. Return to the shampoo bucket
Once the mitt has been rinsed, go back into the shampoo bucket and reload with fresh solution. Then move to the next section of paint.
This cycle continues around the car. Wash, rinse mitt, reload, repeat. It is controlled, predictable and far safer than one-bucket washing.
5. Leave the worst areas until last
Rear lower quarters, sills and bumper backsides often carry the harshest grime. Treat these areas as separate from the rest of the wash. If your mitt looks tired or the car is especially dirty, switch media before touching these sections.
Wheels should usually be handled with separate tools entirely. Brake dust is abrasive. Cross-contaminating paintwork with wheel media is poor process.
Technique matters as much as the buckets
A two bucket setup can still produce poor results if the washing technique is careless. Pressure is the first issue. If you are leaning on the mitt to remove bonded grime, stop. That contamination should have been addressed during pre-wash or decontamination, not forced off during the contact stage.
The second issue is overworking panels. One or two controlled passes with good lubrication are better than repeated wiping. If a section still looks dirty after that, rinse it and reassess. It may need another pre-wash hit, not more agitation.
The third issue is ignoring the condition of the water. If the rinse bucket becomes visibly filthy halfway through a heavily soiled vehicle, change it. There is no prize for pushing on with dirty water just because the method says two buckets. Good detailing is process-led, but not rigid for the sake of it.
Common mistakes that defeat the method
The biggest mistake is skipping pre-wash and expecting the buckets to fix everything. They will not. The method reduces risk during contact washing, but it does not replace chemical cleaning.
The next mistake is using low-quality shampoo with weak lubrication or harsh detergency. A pH-neutral shampoo with proper slickness helps the mitt move freely and reduces drag. Cheap wash solutions can leave the surface feeling grabby, which increases the chance of marring.
Another common problem is using one bucket as a token gesture. If both buckets end up contaminated because the mitt is not rinsed properly, the process breaks down. The rinse stage needs intent.
Finally, there is towel management. You can execute the wash correctly and still mark the paint during drying. Use a clean, soft drying towel and blot or drag gently with suitable lubrication if needed. Contact risk does not end when the buckets are put away.
Do you always need the two bucket method?
Usually, yes - if you are performing a traditional contact wash on cared-for paintwork. It is especially worthwhile on darker colours, softer clear coats and vehicles wearing coatings or sealants that you want to preserve.
That said, there are exceptions. On lightly dusty cars, some operators may use multiple clean mitts with one shampoo bucket and no reintroduction of used media. On rinseless washes, the process changes again because the chemistry and towel rotation do more of the contamination management. For heavily neglected vehicles, a full decontamination approach may matter more than bucket count alone.
So the honest answer is that it depends on the wash type, contamination level and finish standard you are trying to maintain. For routine safe washing, though, the two bucket method remains one of the simplest systems with the biggest payoff.
A better wash is built on control
The appeal of the two bucket wash method steps is not that they are complicated. It is the opposite. They create repeatable control. Clean solution stays cleaner. Dirt has somewhere else to go. Your wash media spends less time carrying abrasive debris across the paint.
For serious enthusiasts and trade operators, that matters. Better washing means less correction work, longer-lasting protection and a finish that stays sharper between details. Liquid Laboratories builds around that same principle - chemistry made clear, process made simple.
If you want better paintwork six months from now, start with a wash routine that stops causing the damage you later have to machine out.
Share:
Car Shampoo for Ceramic Coated Cars
Car Decontamination Process Guide