

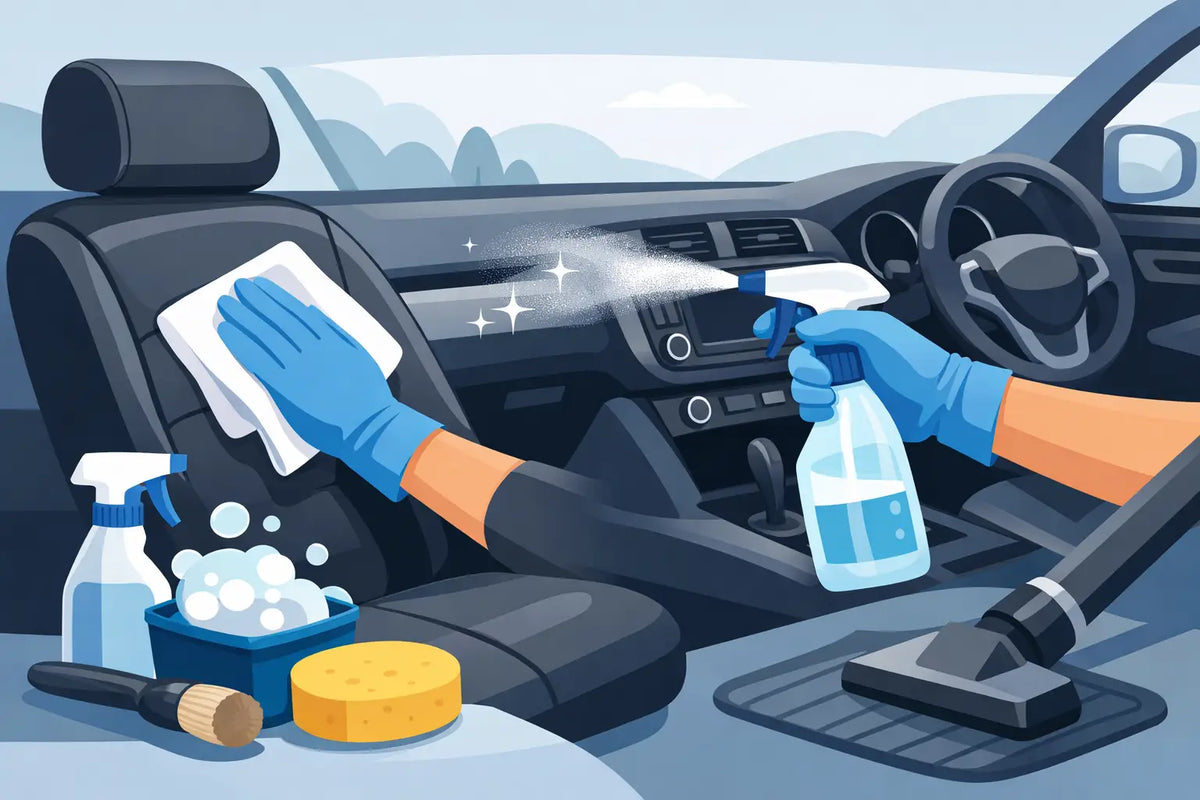
A clean cabin is not one that smells strongly of fragrance or looks wet for an hour after treatment. It is clean at the material level: dust removed from seams, soils lifted from fabric, oils cleared from touchpoints and every surface left residue-free. That is how to clean car interiors properly. Start with process, not product overload.
Interior detailing is a controlled job. Modern cabins combine soft-touch plastics, piano-black trim, coated leather, alcantara, screens, fabric, rubber and glass within a few square feet. Treat every surface with the same aggressive cleaner and you may get a quick visual improvement, but also smearing, staining, faded trim or a slippery steering wheel.
How to Clean Car Interiors in the Right Order
Work from dry contamination to wet cleaning, and from high areas to low. This stops you grinding loose grit into fabric or repeatedly cleaning the same panel. Park in the shade where possible. Heat flashes cleaners dry too quickly, particularly on glass, screens and textured plastics.
Before applying anything, remove rubbish, floor mats and any loose items from door bins, the centre console and boot. Slide the seats through their full range. The debris under the rails is often where a supposedly tidy interior fails inspection.
Use a vacuum with a soft brush attachment and crevice tool. Vacuum headlining lightly, then seats, dash seams, door cards, carpets and mats. Do not force a stiff nozzle across soft trim or piano-black surfaces. A detailing brush is useful around vents, buttons, stitching and gear surrounds, but brush gently while the vacuum captures the released dust.
For an efficient setup, keep four tools separate by task:
- A soft brush for vents, badges, seams and textured plastic
- A crevice tool for seat rails, console gaps and carpet edges
- Clean microfibre cloths for interior surfaces and glass
- A dedicated upholstery brush for fabric and carpet only
Match the Cleaner to the Surface
The strongest product is rarely the correct product. Interior soils are usually a mixture of skin oils, food residue, road dust, sunscreen, make-up and transferred grime. A mild interior cleaner with controlled cleaning power deals with most of it without leaving a glossy film behind.
Spray cleaner into a microfibre cloth or brush first, rather than directly onto switches, vents, screens or perforated leather. Overspray migrates into gaps, can pool around electronics and is difficult to remove evenly. For heavily textured plastic, apply sparingly to a brush, agitate the grain and immediately wipe with a clean, dry cloth.
The target is an even, factory-correct finish. Dashboards and door cards should look clean and natural, not dressed to a wet shine. Glossy residue reflects in the windscreen, attracts fresh dust and can make controls unpleasant to use.
Plastics, rubber and touchpoints
Focus on the areas hands contact most: steering wheel, gear selector, handbrake, indicator stalks, door pulls, seat controls and infotainment surrounds. These collect body oils quickly, even in vehicles that appear clean. Clean them with a lightly dampened cloth, turning to a fresh side regularly so contamination is removed rather than redistributed.
A steering wheel deserves extra care. Work in small sections and wipe dry immediately. Do not saturate stitched leather, and do not apply slick dressings to any control surface. Clean grip is the result required.
Screens and piano-black trim
Screens have anti-glare and anti-fingerprint coatings that can be damaged by harsh solvents, ammonia-heavy glass cleaner or rough paper towels. Use a clean, soft microfibre with a minimal amount of suitable cleaner. Wipe with almost no pressure, then use a second dry cloth to remove any haze.
Piano-black trim is equally unforgiving. It marks easily, so avoid circular scrubbing. Use straight, overlapping passes with a freshly folded cloth. If the trim is already heavily scratched, cleaning will reveal its true condition. It will not correct it. That requires a separate, carefully controlled refinement process.
Leather and coated leather
Most modern vehicle leather is coated. It needs gentle cleaning to remove oils and dye transfer, followed by a suitable protectant only if the material and product system call for one. Older, uncoated leather behaves differently and may require more specialised care.
Apply cleaner to a soft brush or cloth, work one small panel at a time, then wipe dry. Pay close attention to the driver’s bolster, steering wheel and armrest. These areas fail early because they absorb constant friction and contamination. Never soak perforated leather or allow liquid to sit in stitching.
Fabric, carpet and alcantara
Fabric seats and carpets need patience, not saturation. First vacuum thoroughly. Then test any cleaner in an inconspicuous area, especially on pale headlining, coloured stitching or older fabric. Apply a light amount of fabric cleaner, agitate with an upholstery brush and blot lifted soil with a clean towel.
For deep staining, repeat controlled passes rather than flooding the material. Excess moisture can create water marks, encourage odours and leave the seat foam damp for far longer than expected. An extractor can accelerate the job on heavily soiled carpets, but it is not automatically better. Poor extraction technique leaves fabric too wet and can pull stains back to the surface as it dries.
Alcantara and similar microfibre trims need an even lighter touch. Use minimal moisture, a soft brush and gentle strokes in one direction. Aggressive scrubbing can alter the pile and leave permanently uneven patches.
Deal With Stains Before They Set
A stain is not a category of cleaner. Coffee, milk, grease, chewing gum, ink and pet accidents behave differently. Identify the contamination first, then choose the least aggressive method that can remove it.
For fresh spills, blot immediately. Do not rub the spill deeper into the fibres. Work from the outside of the mark towards the centre, using a clean section of cloth each time. Greasy residue may need a suitable degreasing cleaner, while protein-based spills need prompt treatment because odour can remain even after the visible mark has gone.
Headlining is the exception. Its adhesive can release when over-wetted, causing sagging that no interior cleaner can fix. Clean it only when necessary, with a lightly damp cloth and minimal pressure. Never soak or extract it.
Glass Is the Final Quality Check
Clean interior glass last. If you do it earlier, airborne dressing residue, dust and cleaner vapour can land back on it. Use a dedicated glass cloth, not the cloth used on plastics. Apply glass cleaner to the cloth rather than the windscreen, especially near the dash and A-pillars.
Work methodically across the glass, then buff with a second clean, dry microfibre. Inspect from the driver’s seat at an angle. Smears that are invisible from outside become obvious in low sun, rain or night driving. Pay particular attention to the lower windscreen corners and the inside of the rear screen.
Dry, Reset and Maintain the Cabin
Leave doors or windows open long enough for cleaned fabrics and carpets to dry fully. Refit only dry floor mats. Trapped moisture is the route to stale odours, fogged windows and a cabin that feels clean for one day and damp the next.
Once dry, reset the interior carefully. Check seat rails for coins and debris, confirm no cleaner has collected around switches, and return mats without covering the pedals. If an odour remains, do not mask it immediately with fragrance. Find the source first: wet carpet, a blocked cabin filter area, spilt food, pet contamination or a leak.
For routine maintenance, a weekly vacuum of high-traffic areas and a light wipe of touchpoints will reduce the need for aggressive deep cleaning. Serious detailing is about preserving materials, not repeatedly attacking them. Chemistry made clear means using enough product to do the job, then stopping.
The best interior finish is the one that feels factory fresh when you sit down: clear glass, clean air, dry fabric and controls that look untouched rather than artificially dressed.
Share:
Is Ceramic Coating Worth It for Your Car?
Alkaline Shampoo vs Neutral Shampoo for Cars