

The coating fails long before the bottle is opened. It fails in the wash bay, in rushed decontamination, in half-finished polishing, or when panel wipe is treated as an afterthought. A proper ceramic coating preparation guide is not about making the job feel longer. It is about giving the coating a surface it can actually bond to.
That matters whether you are coating a client car, a weekend toy, or a daily that has to live through British rain, road film and winter salt. Ceramic protection is only as good as the surface under it. If the paint is contaminated, loaded with polishing oils, or carrying defects you should have corrected first, the coating does not fix that. It locks it in.
Why ceramic coating preparation matters more than the coating itself
A coating is not a magic layer that hides poor process. It is a chemically resistant sacrificial barrier with specific bonding requirements. If those requirements are not met, durability drops, water behaviour becomes inconsistent, and application becomes harder than it needs to be.
This is where people lose months of performance. They blame the coating when the real issue was prep. Smearing, high spots, weak sheeting and patchy behaviour often start with residue left on the surface, not with the product in the bottle.
Good preparation does three jobs. It removes contamination, reveals the true condition of the paint, and leaves the surface surgically clean for bonding. Miss one of those stages and you are guessing.
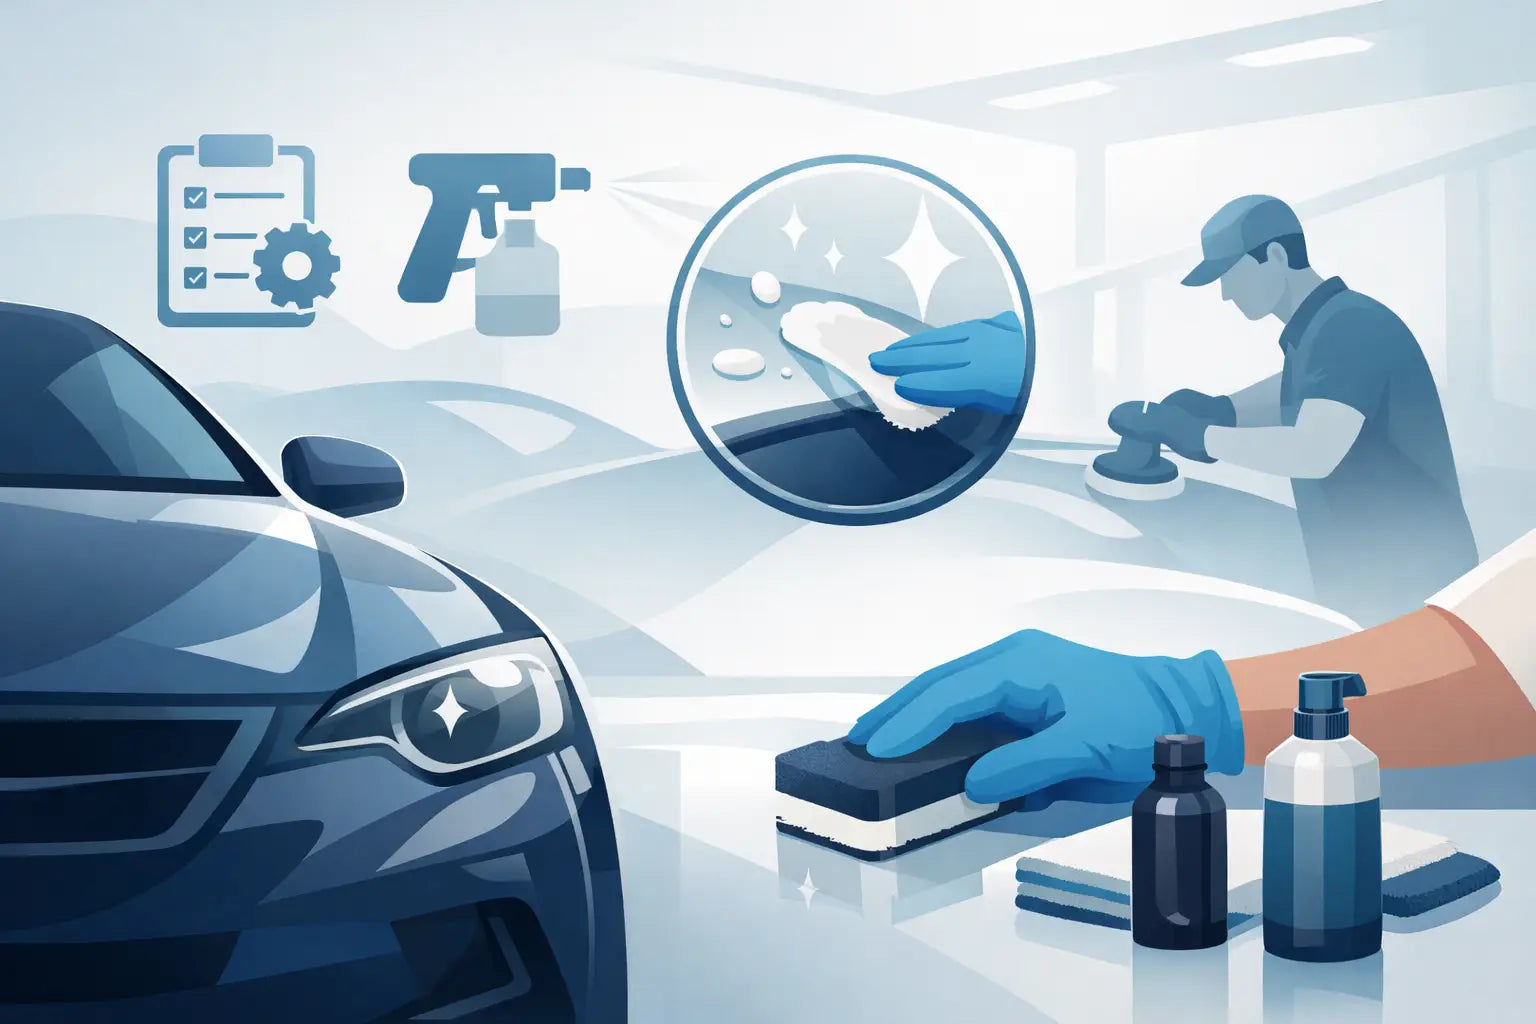
Ceramic coating preparation guide: the correct order
The order matters because each stage exposes what the next one needs to deal with. Start with a cool vehicle, out of direct sun, with lighting good enough to show defects and residue clearly.
1. Pre-wash and contact wash
Strip away loose dirt first. That means a proper pre-wash to soften traffic film and reduce the amount of abrasive debris left on the surface before you touch the paint. Follow that with a careful contact wash using a quality shampoo that rinses clean and does not leave unwanted glossing agents or protection behind.
If you use a wash product loaded with additives, you may create extra work later. For coating prep, clean is the goal, not temporary slickness. Rinse thoroughly and dry properly. Water left sitting in trims, mirrors and badges will come back to irritate you later.
2. Chemical decontamination
Once the car is clean, remove bonded contamination that washing will not shift. Iron fallout removers deal with embedded ferrous particles. Tar removers tackle the black specks and road residue that cling to lower panels.
This step is not optional on most UK cars. Even vehicles that look tidy often carry fallout on the horizontals and tar along the sills and rear quarters. If that contamination stays in place, your clay stage becomes less efficient and more aggressive than it needs to be.
Work methodically, panel by panel if required, and rinse each chemical thoroughly. Cross-contaminating products or letting them dry on the surface is pointless risk.
3. Mechanical decontamination
After chemical decon, assess the paint. If it still feels rough, clay the surface with proper lubrication. The aim is to remove remaining bonded contamination with the least possible marring.
This is where restraint matters. Overworking the clay or using an aggressive grade when a milder option would do just creates more correction work. On softer paint, that can mean adding visible haze before polishing has even started.
4. Paint inspection and correction
Now you can finally see the paint properly. Swirls, oxidation, old dealer prep damage, random isolated deeper scratches and previous holograms become obvious once contamination is gone. If you are applying a coating, this is the point to decide what finish you are willing to lock in for the next few years.
Not every car needs heavy correction. Sometimes a single-stage enhancement is the smart call, especially on a daily where the customer wants gloss and clarity without chasing every deeper mark. Sometimes a full correction is justified. It depends on paint hardness, budget, timescale and expectations.
The key is honesty. A coating over poorly finished polishing is still poorly finished polishing.
Polishing choices that affect coating performance
A refinement stage matters for more than appearance. It affects how cleanly the coating lays down and how good the final finish looks under direct light.
If your compound or polish is heavy on fillers or oils, you need to account for that later. Some finishing polishes leave the paint looking excellent for inspection but not truly bare for coating. That is not always a problem if your panel wipe process is disciplined, but it does raise the standard required in the next step.
Pad choice matters too. Dirty pads, overloaded pads and heat-heavy polishing all create avoidable issues. Keep the process controlled. Clean pads regularly, inspect as you go, and avoid chasing speed at the expense of finish quality.
The panel wipe stage most people rush
A proper ceramic coating preparation guide has to be blunt here. If your panel wipe is poor, the rest of the prep chain is compromised.
Polishing leaves residue. Sometimes it is obvious. Sometimes it is barely visible but still enough to interfere with coating adhesion. The answer is not flooding the panel and hoping for the best. It is controlled wiping with clean microfibres, working small sections, turning towels frequently and checking under proper lighting.
On some paints, one pass is enough. On others, especially after oily finishing polishes, two passes are safer. This is one of those areas where it depends on the products used beforehand. The right approach is the one that leaves the surface genuinely bare, not the one that saves three minutes.
Pay attention to edges, badges, shut lines and trim boundaries. Residue hides there, then spreads when your applicator crosses it.
Environment matters more than people admit
You can prepare the paint perfectly and still make life difficult with a poor working environment. Temperature, humidity, airflow and lighting all influence application and levelling.
A cold, damp garage slows things down and can make curing less predictable. Excessive heat shortens flash times and increases the chance of high spots if you are not adjusting quickly. Dusty spaces are equally unhelpful. Preparation is not only what you do to the paint. It is also the control you create around the job.
If the car has been washed outside in colder conditions, make sure trapped water is fully cleared before coating. Blow out mirrors, trims, handles, fuel flaps and number plate recesses. Surprise drips are amateur problems with expensive consequences.
Areas that need separate thinking
Paint is the headline, but it is not the only surface in play. Gloss black trims, piano black pillars, wheel faces and painted carbon parts all need the same standard of prep, often with even more care due to softer surfaces or awkward shapes.
Glass and plastics are different again. Some coatings are designed to cross over, some are not. Surface prep should match the substrate and the product’s intended use. One process does not fit every material.
That is where chemistry-first detailing wins. Use the right cleaner, the right level of correction and the right prep method for the surface in front of you, not a one-size-fits-all shortcut.
Common preparation mistakes that shorten durability
Most failures are boring. That is the point. They come from impatience, not mystery.
The usual offenders are incomplete decontamination, polishing residue left behind, coating over defects that should have been corrected, poor towel management, and working in bad conditions with bad lighting. Another common mistake is applying a coating to paint that has picked up fresh contamination after prep - fingerprints, dust, overspray from nearby dressing, or even residue from touching trim.
There is also the temptation to over-prepare in the wrong places. Aggressive claying on relatively clean paint, unnecessary heavy correction on thin paint, or excessive panel wipe on delicate finishes can all do more harm than good. Precision beats force.
What good prep looks like in the real world
Good prep does not always mean the longest process. It means the right process for the vehicle. A nearly new car with light fallout and minor wash marring may only need decon, a light machine stage and a disciplined wipe-down. A neglected car with years of contamination and poor previous polishing needs much more.
Serious enthusiasts and trade detailers both benefit from the same mindset - inspect first, choose the minimum effective process, and keep every stage clean. That is how you get durability that matches the claims on the label.
Liquid Laboratories builds around that principle. No hype, no miracle language, just chemistry made clear and process that supports performance.
If you want a coating to behave properly six months from now, earn that result before application day is underway. The best finish usually comes from the quieter part of the job - the preparation nobody notices when it is done right.
Share:
Best Products for Mobile Detailers
Ceramic Coating vs Sealant: Which Wins?