

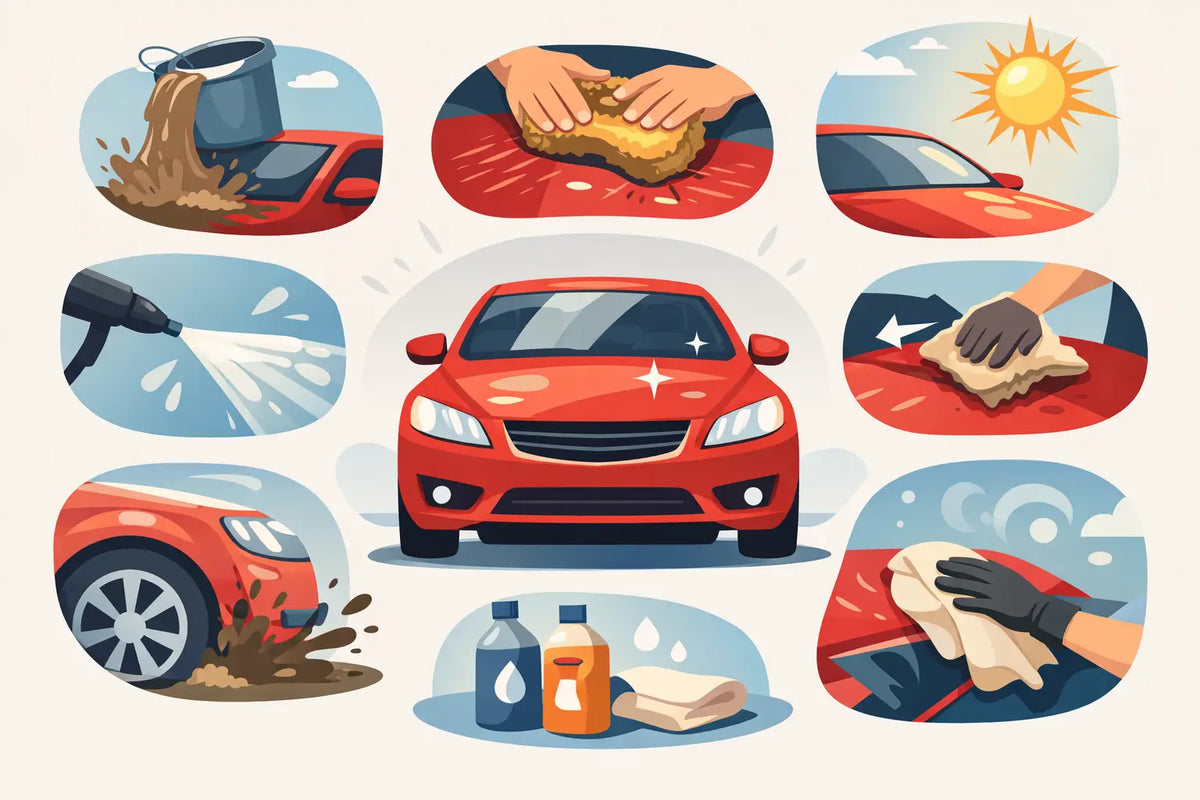
A contact wash should not be the stage that removes the worst contamination. If your wash mitt is doing the heavy lifting, it is being dragged across traffic film, abrasive grit and oily road residue. That is how gloss slowly turns flat. The top pre wash mistakes are rarely dramatic, but repeated every week, they create the very defects you are trying to avoid.
Pre-wash is not a ceremonial blast with a pressure washer followed by a layer of foam for photographs. It is a controlled chemical and mechanical process: soften bonded soiling, lift it from the surface, then rinse it away before contact. Get that sequence right and every stage after it works with less effort and less risk.
Why pre-wash discipline matters
Modern clear coat is tough enough for daily use, not invincible. Road film contains mineral particles, soot, oils, salt and metallic debris. Some contamination sits loose on the surface; some clings through electrostatic attraction or oily binders. Water pressure alone shifts only part of it.
A properly chosen pre-wash breaks the bond between contamination and the vehicle. Snow foam then extends dwell time and further cleans where required. Neither product is a magic trick. Concentration, surface condition, water behaviour and rinsing technique all determine the result.
1. Starting with a dry dust-off or quick rinse
Brushing dry dust from paint or wiping panels before wetting them is an easy way to install fine scratches. Even a soft detailing brush can move abrasive particles across clear coat when used on a dry, dirty panel.
Likewise, a casual hose rinse is often too weak to remove meaningful contamination. Begin by rinsing from the lower areas upward where practical, then work across the vehicle with a pressure washer. This allows the water to attack the dirtiest zones first and gives chemicals a damp, workable surface rather than a panel coated in loose grit.
There is a caveat. If the vehicle is only lightly dusty and has been kept indoors, a gentler approach may be appropriate. But for a UK daily driver in winter, assume the lower half is carrying contamination you do not want in your wash bucket.
2. Using snow foam as the only pre-wash
Snow foam has a job, but it is not automatically the first or only chemical required. Thick foam looks satisfying because it is visible. Cleaning performance comes from the formula, the dilution at the panel and the time it remains active - not simply from shaving-foam density.
On heavily soiled vehicles, apply a dedicated pre-wash first, concentrating on the lower doors, arches, rear end and behind the wheels. These areas collect the strongest mix of traffic film, oily deposits and salt. After the initial chemical has worked, snow foam can provide broader coverage and extra dwell before rinsing.
For a regularly maintained, protected vehicle, a quality snow foam may be enough. For a neglected work van, winter commuter or vehicle following motorway mileage, treating foam as a complete solution leaves contamination behind and shifts the risk to the contact wash.
3. Guessing the dilution ratio
More concentrate is not automatically better chemistry. Overdosing can waste product, challenge delicate finishes and leave a residue that takes longer to rinse. Underdosing is equally unhelpful: the product fails to break down grime, so you compensate by scrubbing harder.
Read the dilution guidance and account for the equipment being used. A pump sprayer, foam lance and pressure washer do not deliver product to the panel at the same final dilution. The ratio in a foam bottle is only part of the calculation because the machine mixes additional water through the system.
Use a measuring jug or dosing bottle rather than guessing by eye. Professionals gain consistency across every job; enthusiasts gain a repeatable process that makes it easier to judge whether a product is working. Chemistry made clear starts with measuring it properly.
4. Applying product to hot panels
Pre-wash chemicals need time on the surface. Hot paint, direct summer sun and warm winds shorten that working window fast. The product dries before it can lift contamination, increasing the chance of streaking or patchy results.
Work in shade where possible and start on the coolest areas. If shade is unavailable, wash earlier or later in the day, divide the vehicle into small sections and reduce dwell time. Rinsing sooner is better than allowing any cleaning chemical to dry on the paint, glass or trim.
Panel temperature matters more than ambient temperature. A dark bonnet can be far hotter than the air around it after only a short period in sunlight. Test with the back of your hand. If it is uncomfortable to hold there, it is too hot for a leisurely pre-wash routine.
5. Letting dwell turn into drying
Dwell time is where the product earns its place. It needs enough time to wet, penetrate and loosen soil. Leaving it until it starts drying is not “extra dwell”; it is a process failure.
Watch the product, not a fixed stopwatch. Heavy contamination, humidity and temperature all change the ideal window. Usually, you want the surface to remain visibly wet while the chemical works. If conditions are warm, pre-rinse more thoroughly, use a weaker working dilution where suitable, or treat one side of the vehicle at a time.
Pay close attention to badges, mirrors, window rubbers, fuel fillers and intricate wheels. Product can collect in these areas, then dry unseen. A controlled rinse at the correct time is far more valuable than chasing maximum dwell.
6. Ignoring wheels, arches and lower panels
The dirtiest areas are often handled as an afterthought, which spreads their contamination into the rest of the wash. Wheels and arches should be treated with separate tools and, where needed, dedicated chemistry. Never use the same brush, mitt or bucket contents on a wheel and then move to paintwork.
Pre-wash the lower bodywork deliberately. Spray behind the wheel arches, along sills, around the rear bumper and into panel gaps. These zones need coverage, but avoid blindly saturating sensitive areas. On older vehicles, damaged trim, fresh repairs or unknown coatings, use the least aggressive effective method first.
This is also where pressure-washer technique matters. Keep a sensible distance, use a fan pattern and avoid forcing water directly into seals, electrical connections, damaged paint edges or loose badges. More pressure is not more skill.
7. Rinsing in the wrong direction
A top-down rinse is familiar, but it is not always the best first move for a dirty vehicle. Starting low helps remove the heaviest contamination before it is diluted and redistributed down the panel. Once the lower sections have been thoroughly flushed, a top-down final rinse clears residue cleanly from the whole vehicle.
The key is coverage and control, not rigid ritual. Hold the lance at a consistent distance and overlap each pass. Do not race through panel gaps, mirrors and rear contours where foam and pre-wash solution can remain trapped.
For ceramic-coated vehicles, a proper rinse is particularly useful. The coating should release water and contamination efficiently, but its performance cannot compensate for chemical residue left in shuts or grime that was never removed in the first place.
8. Going straight to the wash mitt after rinsing
The panel may look clean after pre-wash and snow foam, yet still carry a thin layer of traffic film. Before contact washing, inspect the lower doors, rear bumper and horizontal surfaces. If contamination remains obvious, repeat the pre-wash stage or target the affected areas rather than attacking them with the mitt.
Use clean wash media, fresh solution and a method that regularly releases contamination from the mitt. A pre-wash reduces risk. It does not make poor contact-wash technique safe. This distinction matters most on dark paint, where fine marring is quickly visible under workshop lighting or low winter sun.
Build the process around the vehicle, not the bottle
A protected weekend car, a ceramic-coated daily driver and a salt-covered fleet vehicle do not require identical chemical strength or dwell time. The correct approach is the least aggressive process that removes the contamination effectively. That protects the finish, controls product use and keeps your workflow efficient.
At Liquid Laboratories, the principle is straightforward: use chemistry to remove dirt before friction has the chance to mark paint. Slow down at the pre-wash stage, measure accurately and rinse with purpose. Your contact wash will become quicker, safer and noticeably more effective.
Share:
Touchless Pre Wash Process: Clean Before Contact
5 Phase Car Care System: The Right Wash Order