

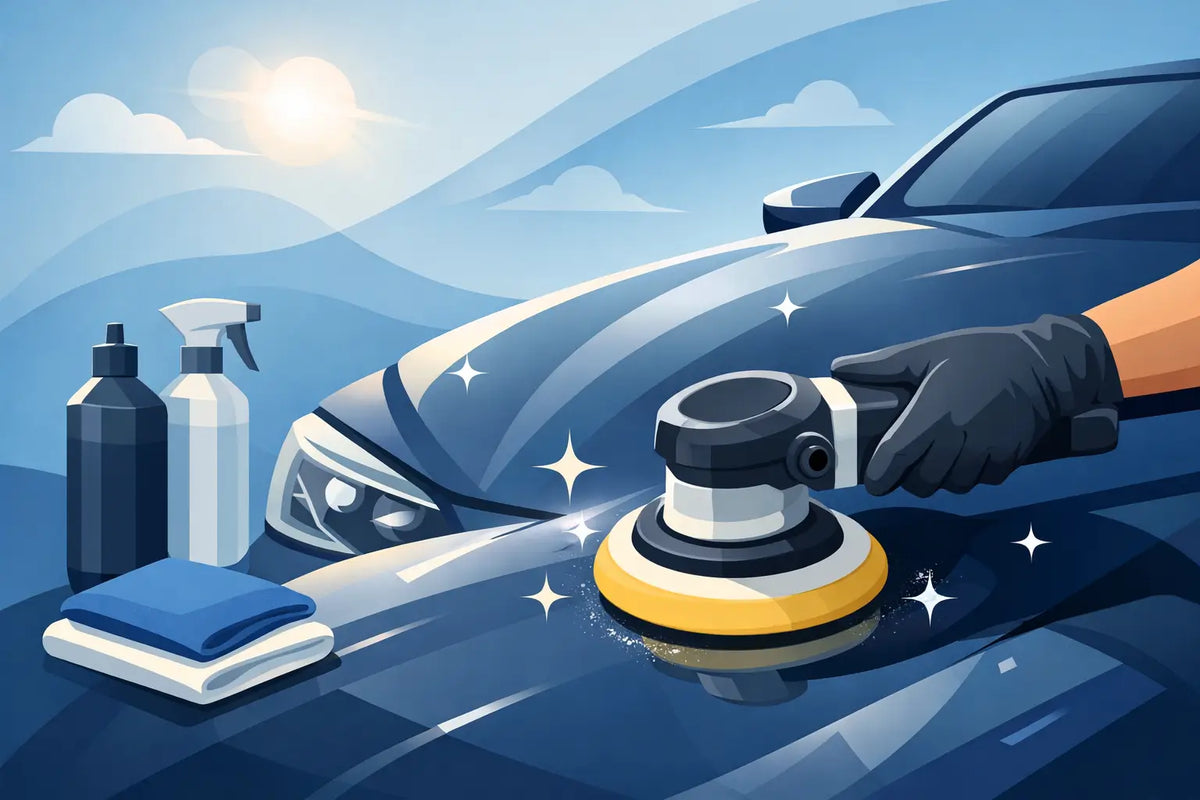
A glossy car is not necessarily a corrected car. Fillers, wet paint and showroom lighting can make defects disappear temporarily. Car polishing is the controlled removal of a microscopic amount of clear coat to reduce swirls, haze, oxidation and isolated scratches. Done properly, it creates genuine clarity. Done aggressively, it creates heat, holograms and less paint left for the next correction.
This is not a stage to rush because the machine is in your hand. Correction starts with assessment, clean paint and a clear target. The aim is not to chase perfection at any cost. It is to deliver the best safe finish the paint will allow.
What car polishing actually does
Most modern vehicles use a coloured basecoat beneath a clear lacquer. The visible defects that dull the finish often sit in that clear layer. Swirl marks scatter light. Water-spot etching interrupts reflection. Faded, oxidised paint loses definition. Polishing uses abrasive technology to level the edges around those defects, so light reflects more cleanly.
That distinction matters. A polish cannot add clear coat back. A deep scratch that catches a fingernail may run beyond the safe correction range. The sensible outcome may be reduced visibility, not total removal. On thin, repainted or unknown paint, restraint is professional practice, not a compromise.
Modern compounds and finishing polishes are designed to work through an abrasive cycle. Under pad pressure and machine movement, they cut defects, then refine the surface. Product choice matters, but pad selection, working section size, machine control and wipe-down discipline decide whether that chemistry performs as intended.
Preparation decides the finish
Polishing contaminated paint is a fast route to fresh marring. Dirt trapped in a pad becomes abrasive. Traffic film hides defects. Tar, iron fallout and bonded contamination interfere with machine contact and can make the finish look uneven once protection is applied.
Start with a controlled wash. Remove loose grime with a suitable pre-wash and snow foam, then wash with a pH-neutral shampoo using safe contact technique. Follow with fallout removal and tar treatment where required. Clay or a synthetic decontamination medium can be useful, but only after chemical decontamination has done the heavy work. Mechanical decontamination is effective, yet it can introduce light marring that will need polishing out.
Dry the vehicle fully, including mirrors, badges, panel gaps and trim. Water running from a handle halfway through a polishing set is not a minor inconvenience. It contaminates the work area and wastes time.
Then inspect the paint under proper lighting. Daylight can reveal some defects, but a dedicated inspection light exposes the swirls and haze that broad ambient light hides. Check every panel, noting chips, previous repairs, sharp body lines and vulnerable edges. If you have access to a paint depth gauge, use it. Readings do not tell the whole story, but they give useful context before cutting a bonnet that may have been repainted twice.
Choose correction by defect, not by ego
The strongest compound is rarely the correct starting point. Begin with the least aggressive combination likely to achieve the result: a finishing polish on a soft or medium polishing pad, tested in a small section. This is your test spot. It tells you how the paint responds before you commit to the full vehicle.
If it clears the haze and reduces the majority of swirls, you have your system. If defects remain, step up gradually. A medium-cut compound with a firmer foam or microfibre pad may be required on harder clear coats. On softer paint, that same combination may create haze that demands a refining stage.
There is no universal pad and polish pairing because paint systems vary. German clear coats can be notably hard. Japanese paint can be more delicate. Age, repaint history, panel temperature and even workshop conditions change the result. The process must follow the panel, not internet shorthand.
The test spot process
Prime a clean pad lightly, then use only enough product to maintain lubrication. Excess polish does not mean more cut. It clogs pads, extends wipe-off and creates unnecessary dust.
Work an area roughly 40 cm by 40 cm, adjusting smaller on intricate panels. Spread the polish at low speed, then make slow, overlapping passes with even pressure. Let the machine and abrasives do the work. Forcing a dual-action machine into the panel can stall pad rotation and generate heat without effective correction.
After the set, remove residue with a clean, high-quality microfibre towel. Inspect under the same light, then use a panel wipe if needed to remove polishing oils. This is the moment of truth. Oils can mask fine defects, so a panel that looks perfect before wipe-down may reveal remaining haze afterwards.
Machine control prevents expensive mistakes
A dual-action polisher is the sensible choice for most enthusiasts and many professional correction jobs. Its oscillating movement is more forgiving than a rotary, particularly on large, flat panels. A rotary remains valuable for experienced operators dealing with severe defects, heavy oxidation or demanding paint systems, but it requires greater heat and edge awareness.
Keep the pad clean. Blow out foam pads regularly, brush them between sections, and switch pads before they become saturated. A clogged pad cuts inconsistently and can reintroduce marring. Professionals should expect to use several pads during a full correction, not one pad from bonnet to boot lid.
Avoid lingering on edges, raised styling lines, door-handle recesses and panel corners. Paint is commonly thinner in these areas. Mask sensitive trims, rubber seals, badges and unpainted plastics before work begins. Polish residue is easier to prevent than remove from textured trim.
Temperature matters too. Do not polish hot paint in direct sun, and do not try to correct a freezing panel outside in winter. Product behaviour changes with temperature. A clean, shaded workshop with reliable lighting is not a luxury when finish quality is the job.
Know when to stop polishing
A sharp finish is built on judgement. One or two controlled sets may transform a vehicle that looked tired at wash stage. Continuing to chase a few isolated marks can remove clear coat for no meaningful improvement at normal viewing distance.
Look at the car as its owner will see it. A daily driver can benefit enormously from a one-step enhancement that improves gloss, reduces wash marring and preserves paint thickness. A cherished weekend car may justify multi-stage correction. A fleet vehicle may need a durable, repeatable improvement rather than an intensive concours process.
The right level of correction depends on paint condition, ownership plans, budget and protection choice. Make that decision before the machine work starts, then document it if you are working for a client. Clear expectations prevent the familiar but unrealistic request for every defect to vanish from a twenty-year-old bonnet.
Protect the corrected surface immediately
Freshly corrected paint is exposed paint. The polishing stage improves clarity but does not provide meaningful long-term protection. Once the panel is clean and oil-free, apply the protection system suited to the vehicle and maintenance routine.
A quality sealant offers strong gloss, water behaviour and straightforward application. A ceramic coating can provide longer durability and improved chemical resistance, but only if the preparation is exact and cure conditions are respected. Hardness claims alone are not a buying decision. Look at usability, flash time, levelling behaviour, cure time and the real-world wash regime the car will receive.
Liquid Laboratories approaches this stage with the same principle that should govern correction: chemistry made clear. Use protection that matches the job, then maintain it with pH-neutral wash products and safe drying technique. A coating will not stop poor washing from marking paint, but it can make cleaning easier and help preserve the corrected finish.
Avoid washing immediately after application if the chosen protection requires a cure period. Once cured, regular maintenance matters more than occasional hero sessions. Pre-wash thoroughly, use clean wash media, replace tired microfibres and never drag a dry towel across dusty paint.
Better polishing starts at the next wash
Car polishing should not become an annual rescue operation. If a vehicle needs heavy correction every spring, the problem is normally the maintenance routine rather than the lack of another compound. Improve the wash process, protect the paint properly and inspect it under honest lighting before reaching for the machine again.
The best result is not the most aggressive correction. It is paint that looks precise in sunlight, under inspection lighting and six months later, because every stage after polishing was chosen to keep it that way.
Share:
How to Use Panel Wipe Without Damaging Paint
What pre wash actually does